
Barista skills
Latte art for beginners: milk steaming and your first heart
Learn latte art from scratch: how to steam silky microfoam, the right milk temperature, and how to pour a heart, tulip and rosetta, plus common mistakes.
By the Jex Institute training teamUpdated 6 min read
Quick answer
Latte art depends on milk texture more than on the pour. Steam the milk to glossy microfoam at about 55 to 65°C, swirl it so it stays smooth, then pour from high to mix with the espresso and drop the jug close to the surface so the white foam floats. Start with a heart before trying a tulip or rosetta.
Key takeaways
- Good microfoam looks like wet paint: shiny, with no visible bubbles.
- Add air only in the first few seconds, then spin the milk to polish it.
- Pour high to mix, pour low to draw.
- Practise the heart until it is symmetrical before learning other patterns.
Why milk texture comes first
A pattern only appears when the foam is fine enough to float on the crema and fluid enough to flow. Milk with large bubbles sits on top in a stiff blob. Milk with no foam sinks straight through. The target is microfoam, where the air is broken into bubbles too small to see.
How to steam milk for latte art
- 1
Start cold and purge the wand
Use cold milk in a cold jug filled to just below the spout. Open the steam valve briefly to clear any water.
- 2
Stretch for a few seconds
Place the tip just under the surface, slightly off centre, and open the steam fully. You should hear a gentle tearing sound as air is drawn in. Stop adding air when the jug feels the same temperature as your hand.
- 3
Roll to polish
Raise the jug slightly so the tip is fully under the surface and keep the milk spinning in a whirlpool. This folds the bubbles into the milk.
- 4
Stop at 55 to 65°C
Close the valve when the jug becomes too hot to hold comfortably. Hotter milk loses sweetness and the foam turns dry.
- 5
Wipe, purge, tap and swirl
Wipe and purge the wand immediately. Tap the jug once to pop any surface bubbles, then swirl until the milk looks glossy.
The pour: high to mix, low to draw
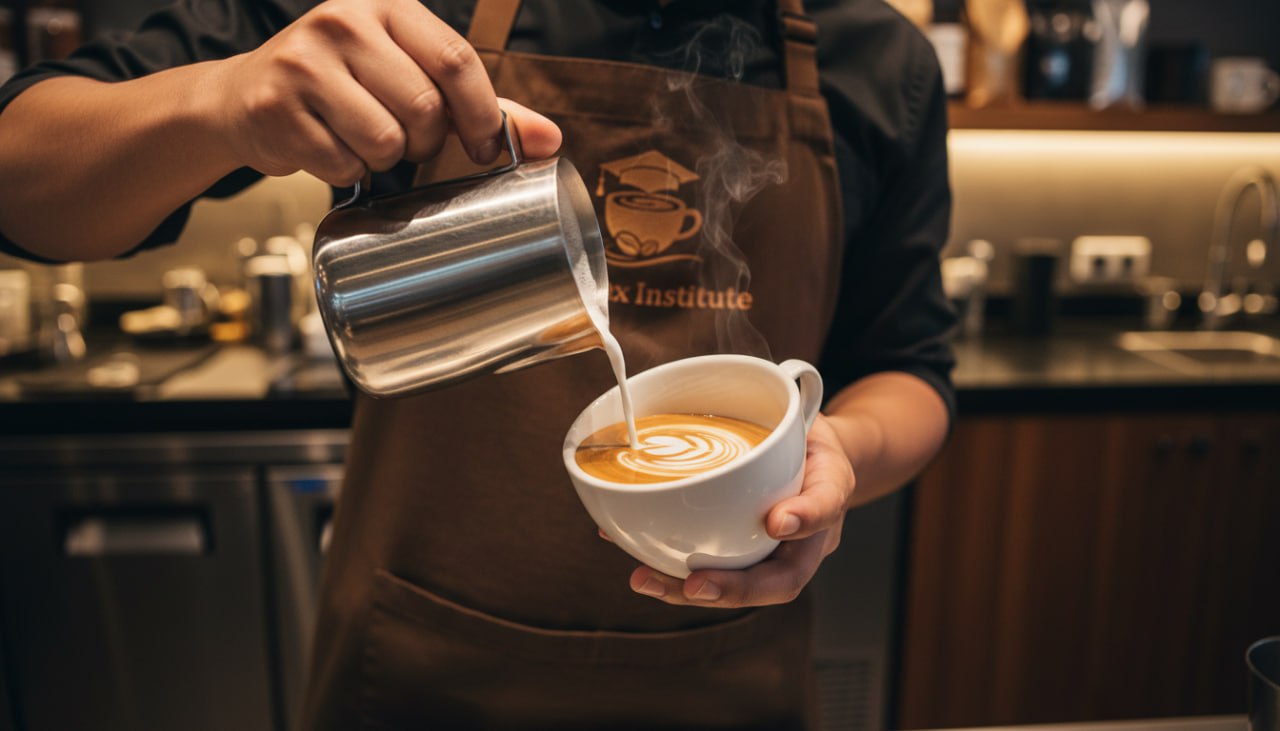
Tilt the cup towards the jug. Begin pouring from a few centimetres above the surface in a thin stream so the milk dives under the crema. This builds the brown base.
When the cup is about half full, bring the spout down until it almost touches the surface and pour a little faster. White foam will begin to spread on top. That is the moment you start to draw.
Three patterns to learn in order
| Pattern | How it is made | What it teaches |
|---|---|---|
| Heart | Pour low in one spot until a white circle forms, then lift the jug and cut through the centre. | Flow rate and the cut-through |
| Tulip | Pour a small circle, stop, then push a second and third circle into the first before cutting through. | Starting and stopping the flow |
| Rosetta | Rock the jug gently side to side while moving backwards across the cup, then cut through. | Wrist rhythm and steady movement |
Common mistakes and how to fix them
- Big bubbles: you added air for too long or too late. Stretch only at the start.
- No white appears: you are pouring from too high. Bring the spout closer to the surface.
- Pattern is off centre: start the low pour in the middle of the cup, not at the edge.
- Foam separates in the jug: you waited too long. Swirl continuously and pour straight away.
- Washed-out contrast: the espresso is thin. Fix the shot first with our espresso dialling-in guide.
How to practise without wasting milk
You can practise steaming with cold water and a single drop of dish soap, which foams in a similar way to milk. Use it to train your wand position and whirlpool, then switch to milk for the pour. In the Speciality Barista Course latte art is part of the commercial coffee unit, so you practise pouring alongside a trainer.
FAQ
Common questions
What milk is best for latte art?
Fresh full-fat cow’s milk is the easiest to texture because its protein and fat make stable, glossy foam. Barista-style oat milk is the most forgiving plant-based option.
What temperature should milk be for a latte?
Aim for 55 to 65°C. Above that the milk tastes flat and the foam becomes stiff, which makes patterns harder to pour.
How long does it take to learn latte art?
Most students pour a recognisable heart within their first few practice sessions. A consistent tulip and rosetta usually take several weeks of daily pouring.
Keep exploring
Courses that teach this
BaristaSpeciality Barista Course
Go beyond the basics and learn the skills that define a professional barista, from precise espresso calibration and milk steaming to latte art, manual brewing and the full café drinks menu.
- Length
- 6 weeks daily, or 2–3 months part-time
- Fee
- AED 1,999
View course
From our trainers
Keep reading

Barista skills6 min read
How to dial in espresso: dose, yield and time
A practical method for dialling in espresso. Start at 18 g in, 36 g out in 25–30 seconds, then adjust the grind using taste. Includes a troubleshooting table.

Careers6 min read
How to become a barista in Dubai
Step-by-step guide to becoming a barista in Dubai: the skills cafés test, the certificate that helps, how long training takes and what a trial shift involves.
Train with the people who wrote this
Classes run daily in Al Baraha, Deira, with morning, evening and Sunday options.